Why Does My Charger Keep Falling Out of My Phone? A Complete Troubleshooting Guide
Few things are more frustrating than a charger that won’t stay securely in your phone. Not only does it interrupt charging, but it can also damage your device over time. This guide explores the 5 main causes and provides actionable solutions to fix the problem permanently.
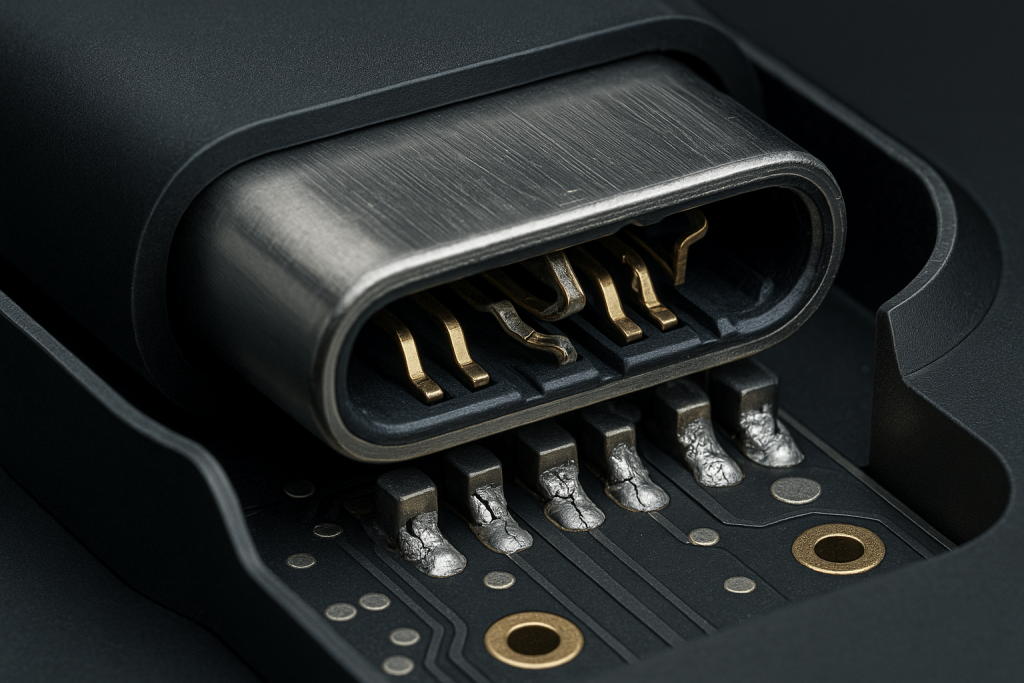
1. Loose or Damaged Charging Port
- Causes: Physical trauma (drops, forceful insertion), general wear-and-tear over years of use, or internal connector fatigue.
- Symptoms: The charger wobbles significantly when gently touched, feels “sloppy,” or disconnects with minor movement.
- Diagnosis: Insert the charger and very gently wiggle it side-to-side and up-down. Excessive movement confirms port looseness.
- Solutions:
- Professional Repair: Visit an authorized repair shop. Technicians can resolder loose connections or replace the entire port module (cost varies by device).
- DIY Caution: Not recommended for most users. Requires micro-soldering skills and specialized tools. Attempting this yourself risks permanent damage.
- Temporary Fix: Angle the cable for tension or use wireless charging (if supported) while arranging repair.

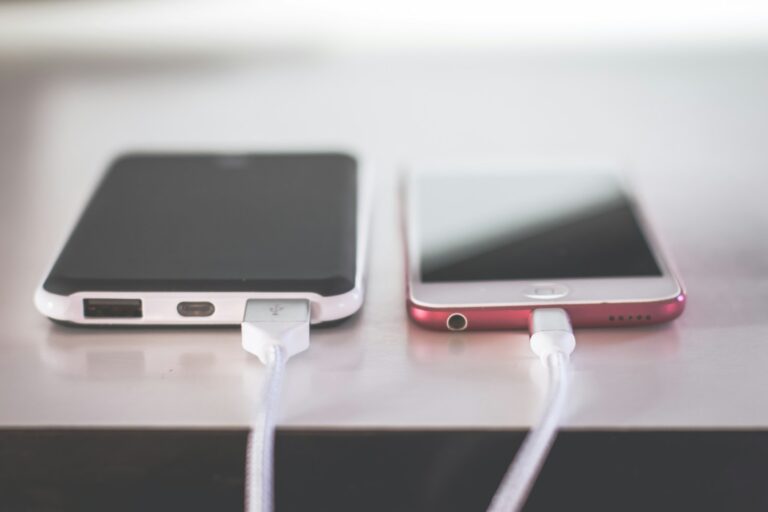
2. Damaged or Worn-Out Charger/Cable
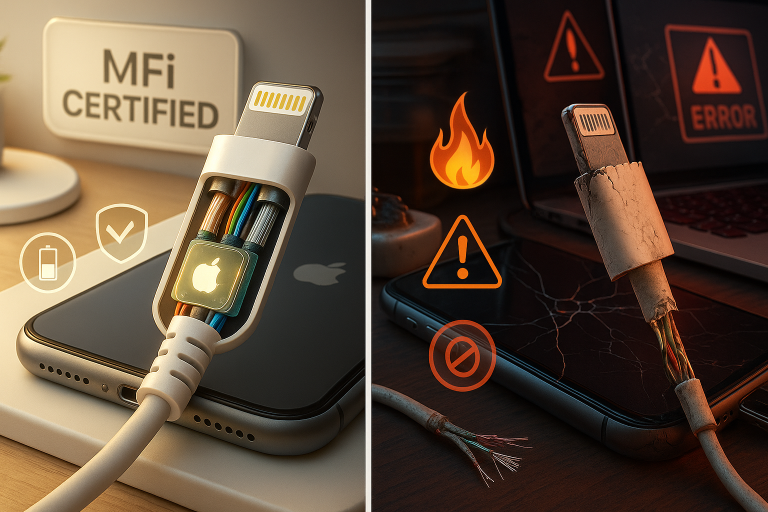
- Causes: Bent/broken connector pins, frayed/cracked cable insulation, internal wire damage from pulling or twisting, exposure to moisture/corrosion, or cheap/low-quality cables.
- Symptoms: Visible physical damage (bent plug, exposed wires), intermittent charging, or the plug feels loose even in other devices.
- Diagnosis: Visually inspect the cable and plug. Test the suspect charger with a different compatible device. Test a different (known good) charger with your phone.
- Solutions:
- Replace Immediately: Discard damaged cables. Invest in certified cables (e.g., MFi for Apple, USB-IF certified). Avoid ultra-cheap options.
- Prevention: Unplug by gripping the plug head, not the cable. Avoid tight bends and excessive tension.
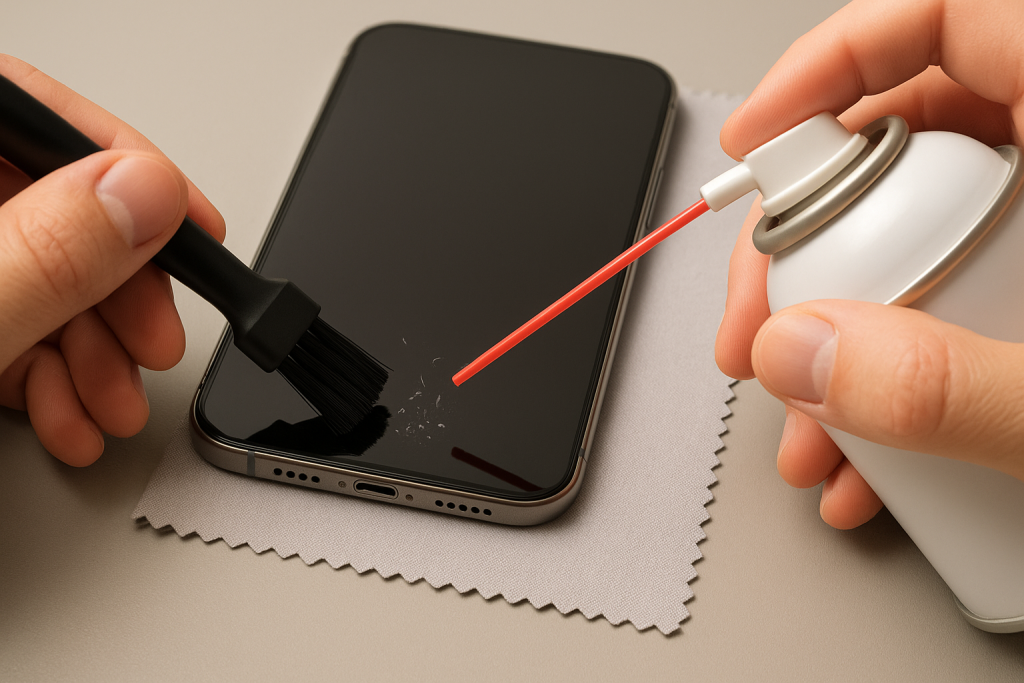
3. Debris Clogging the Charging Port
- Causes: Accumulation of pocket lint, dust, dirt, sand, or dried liquids inside the port cavity.
- Symptoms: Charger doesn’t insert fully, feels blocked, or only charges at specific angles (debris pushes plug out).
- Diagnosis: Shine a bright light into the port. Look for packed lint or foreign material.
- Solutions:
- Safe Cleaning Tools: Use a new, dry, soft-bristled toothbrush, plastic dental pick, or non-conductive tweezers. Compressed air (short bursts, held upright) is highly effective.
- Critical DON’Ts: Never use metal objects (paperclips, pins) – they can short pins. Avoid liquids or cotton swabs (can leave fibers).
- Technique: Power off the phone. Gently dislodge debris with the brush or air. Be patient and meticulous.
4. Using an Incorrect or Non-Compatible Charger/Cable
- Causes: Using a cable/plug designed for a different device type (e.g., micro-USB instead of USB-C), counterfeit/uncertified accessories, or physically worn plugs that no longer meet specifications.
- Symptoms: Plug fits loosely, falls out easily, doesn’t “click” in, or only charges intermittently. It might physically fit but not match the port’s retention mechanism.
- Diagnosis: Compare the plug shape/size to your original charger. Check for certification logos. Does the problem disappear with your original charger?
- Solutions:
- Use the Correct Type: Ensure it’s the right physical connector (USB-C, Lightning, etc.).
- Use Certified Accessories: Buy from reputable brands or the device manufacturer.
- Check for Wear: Even correct plugs wear out; replace old, loose-fitting cables.
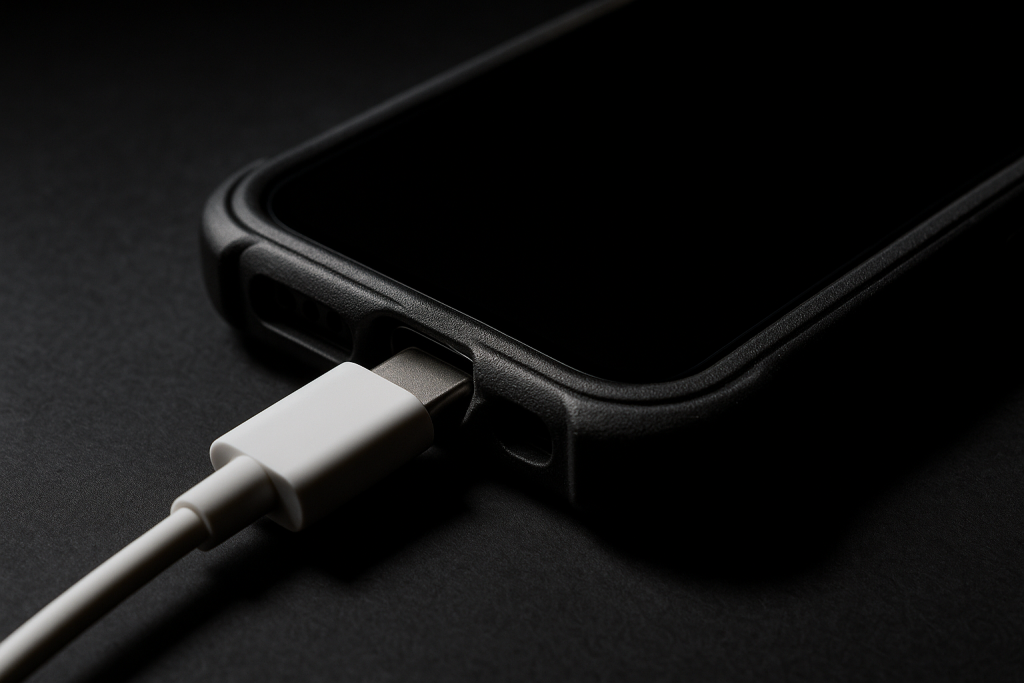
5. Phone Case Interference
- Causes: A case with a thick, misaligned, or poorly designed charging port cutout physically blocks the charger from seating fully.
- Symptoms: Charger seems to hit the case edge before plugging in completely, requires excessive force, or only works when the case is off.
- Diagnosis: Simply remove the case and try plugging in the charger. Does it fit securely now?
- Solutions:
- Case Modification: Carefully widen the port cutout with a sharp craft knife or small file (proceed slowly and cautiously).
- Case Replacement: Choose a case with a larger, unobstructed port opening.
- Case Removal: Take the case off while charging (least convenient option).
Systematic Troubleshooting Steps
- Inspect & Clean: Power down. Visually inspect the phone’s port for debris. Clean meticulously using compressed air and a soft brush.
- Test the Charger: Examine the cable and plug for damage. Test it on another compatible device. Does it work/fit securely elsewhere?
- Try Another Charger: Use a known good, correct, and certified charger/cable with your phone. Does it stay in?
- Remove the Case: Take off your phone case. Does the charger now seat properly?
- Check Port Tightness: With a good charger inserted, perform the gentle wiggle test. Is there excessive movement?
- Verify Compatibility: Double-check you’re using the right charger type (e.g., USB-C for modern Android, Lightning for older iPhones).
When to Seek Professional Help
- If the port is physically loose (fails the wiggle test).
- If debris is deeply impacted and safe cleaning methods fail.
- If the problem persists after trying all troubleshooting steps with verified good chargers and no case.
- If you suspect internal damage (e.g., after liquid exposure or a severe drop).
Conclusion: A loose charger is usually fixable. Start with simple cleaning and charger verification. Address case issues or cable damage next. A persistently loose port requires professional repair. Always prioritize using certified accessories and handle ports gently to prevent future problems. If in doubt, consult the device manufacturer or a qualified technician.