Fuel Tanks Welding. All You Need to Know.
Fuel tanks are a vital component of nearly every vehicle — from cars and trucks to boats, heavy machinery, and industrial equipment. These containers serve as reservoirs for storing flammable liquids such as gasoline, diesel, ethanol blends, and other alternative fuels. Designed to withstand environmental exposure and mechanical stress, fuel tanks play a crucial role in ensuring safe and efficient engine operation.
Despite their robust construction, fuel tanks are not immune to wear and tear. Over time, they can develop leaks, cracks, or structural weaknesses due to corrosion, impact, fatigue, or internal contamination. When damage occurs, it presents serious risks including fire hazards, fuel loss, environmental pollution, and vehicle performance issues.
Welding offers a proven solution for repairing damaged tanks or fabricating replacements when necessary. However, the decision to weld versus replace involves careful consideration of several critical factors, including material type, damage severity, safety concerns, cost, and long-term reliability.
Common Causes of Fuel Tank Damage
1. Corrosion
- Steel Tanks: Highly susceptible to rust when exposed to moisture, road salt, and corrosive elements in modern fuels (especially ethanol blends). Rust can weaken the tank’s structure and lead to pinholes or larger breaches.
- Aluminum Tanks: While more resistant to general corrosion than steel, aluminum can still suffer from galvanic corrosion when in contact with dissimilar metals.
- Plastic Tanks (HDPE, Polyethylene): Not prone to rust but may degrade over time due to UV exposure, chemical breakdown, or physical stress.
2. Impact Damage
- Road debris, undercarriage strikes, collisions, or improper lifting/jacking can cause dents, punctures, or fractures.
- Plastic tanks are particularly vulnerable to cracking upon impact.
3. Vibration and Fatigue
- Constant movement during vehicle operation can stress seams, welds, and mounting points.
- Repeated flexing can eventually result in microfractures or full-scale leaks.
4. Internal Wear
- Sediment buildup, water condensation, and microbial growth (diesel bug) can accelerate internal corrosion.
- Galvanic reactions between different metal components inside the tank can also contribute to degradation.
5. Material Degradation
- Plastic tanks may become brittle and crack, especially in cold climates or after prolonged exposure to UV light.
- Rubber seals, gaskets, and threaded fittings often fail before the tank itself, leading to secondary leaks.
Repair vs. Replacement: Key Considerations
When faced with a damaged fuel tank, the decision between repair and replacement must be based on a comprehensive evaluation of several interrelated factors:
1. Extent and Nature of Damage
- Repair Viable:
- Small pinhole leaks
- Localized corrosion spots
- Minor seam failures
- Shallow dents without metal thinning
- Replacement Recommended:
- Large holes or widespread rust
- Multiple leak sites
- Severe deformation or creasing
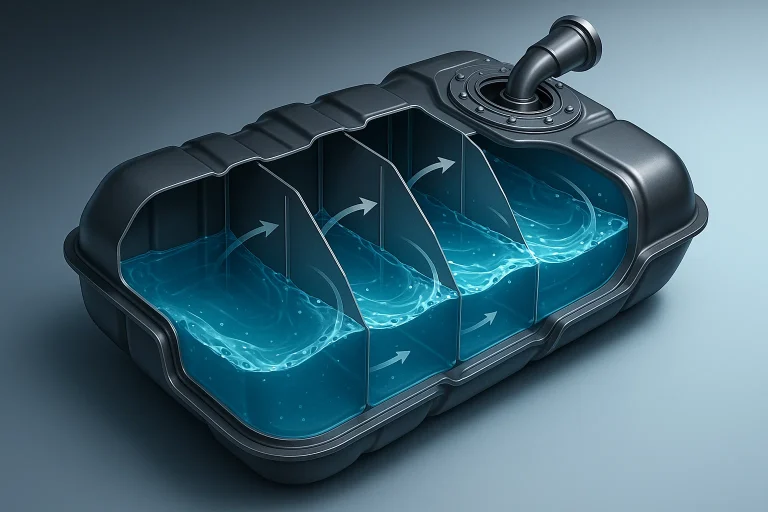
- Internal sludge buildup or baffle failure
- Structural compromise affecting integrity
2. Tank Material
- Steel: Most common and generally weld-repairable using low-hydrogen electrodes or wire. Requires thorough cleaning and post-weld coating.
- Aluminum: Can be repaired with TIG welding but requires high skill, specialized tools, and strict adherence to prep and shielding gas protocols.
- Plastic: Cannot be welded with traditional metal techniques. Repairs may involve plastic welding, epoxy bonding, or patch kits, but these are typically temporary solutions. Full replacement is usually preferred.
3. Cost-Benefit Analysis
- Welding Repair:
- Lower upfront cost
- Faster turnaround if expertise is available
- Preserves original equipment (valuable for vintage or specialty vehicles)
- Replacement:
- Higher initial investment
- Provides new seals, coatings, and fittings
- Often includes warranty and better long-term reliability
- May be required by insurance or regulatory standards
4. Age and Overall Condition
- Older tanks showing generalized corrosion or thinning should be replaced rather than repaired.
- A single isolated leak on an otherwise sound tank may justify repair.
5. Safety and Regulatory Compliance
- Many jurisdictions regulate fuel tank repairs due to fire risk and environmental concerns.
- Some manufacturers prohibit certain types of repairs on specific tank locations or materials.
- Always verify local codes, insurance requirements, and manufacturer guidelines.
Welding Fuel Tanks: Critical Factors for Success
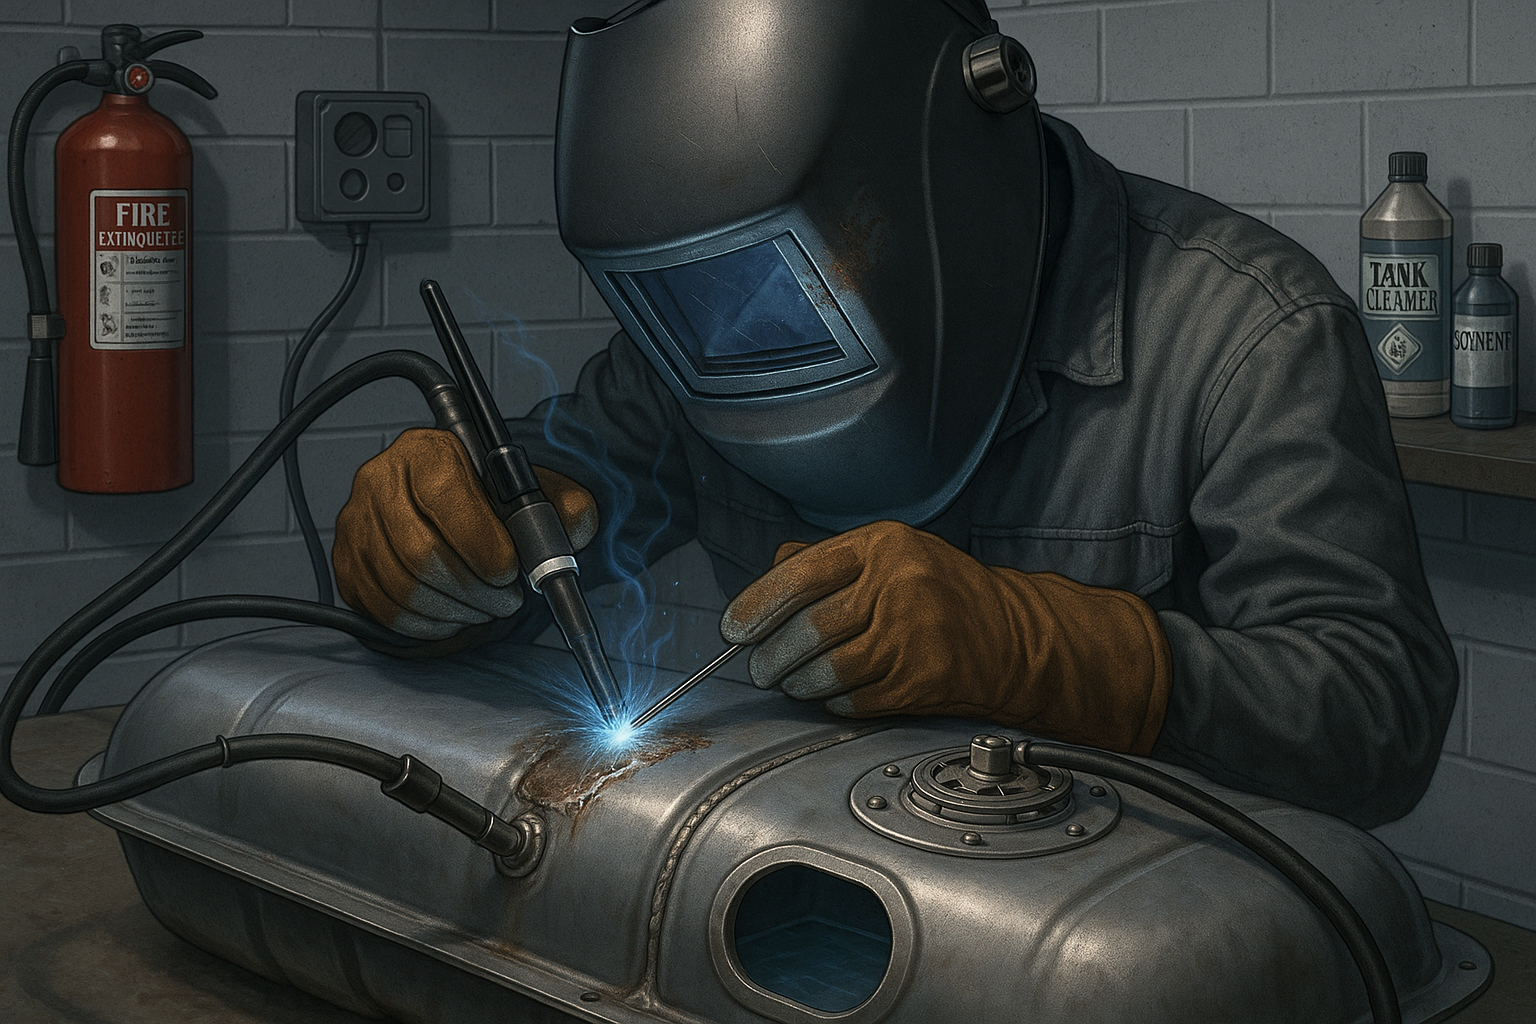
Welding a fuel tank is a complex and hazardous task that demands precision, preparation, and strict adherence to safety protocols. Below are the essential steps and considerations:
1. Tank Preparation – The Foundation of Safety
This is the most critical phase and cannot be rushed or skipped.
a. Complete Drainage and Vapor Removal
- Remove all liquid fuel and ensure no residual fuel remains.
- Open all valves, vents, and caps to allow complete drainage.
- Use compressed air or suction pumps to extract remaining traces.
b. Purging Fuel Vapors
Fuel vapors are highly volatile and explosive. Effective purging is non-negotiable.
- Inert Gas Purging (Recommended):
- Flood the tank with argon or nitrogen before, during, and after welding.
- Ensure tight seals around access points to maintain inert atmosphere.
- Water Filling Method:
- Fill the tank completely with clean water, leaving only the immediate weld area dry.
- Reduces vapor concentration but does not eliminate all risks.
- Never use steam — it increases pressure and volatility.
- Chemical Cleaning (Optional):
- Use approved degreasers or vapor degreasing systems to neutralize any remaining residue.
c. Cleaning the Weld Area
- Grind or sand away paint, rust, coatings, and contaminants until bare metal is visible.
- Clean thoroughly with solvent wipes or hot detergent solution.
- For aluminum, use a dedicated stainless steel brush to remove oxide layers just prior to welding.
2. Material-Specific Welding Techniques
a. Steel Tanks
- Recommended Processes: Stick (SMAW), MIG (GMAW), or Flux-Cored (FCAW).
- Filler Metals: E7018 electrodes for stick; ER70S-6 wire for MIG.
- Post-Weld Treatment: Apply a fuel-resistant internal sealer or epoxy coating to prevent future corrosion.
b. Aluminum Tanks
- Preferred Process: TIG (GTAW) for precision and quality.
- Shielding Gas: 100% Argon.
- Filler Rods: Choose 4043 or 5356 depending on application.
- Critical Prep: Aluminum must be cleaned immediately before welding to remove oxide layers and oils.
c. Plastic Tanks
- Not Suitable for Metal Welding: Requires specialized plastic welding tools (hot-air gun, extrusion welder).
- Use Compatible Filler Rods: Match the plastic type (e.g., HDPE rod for HDPE tanks).
- Surface Prep: Groove and clean the area thoroughly for adhesion.
- Note: Plastic welds rarely match the strength of the original and are often considered temporary fixes.
3. Welding Process Selection
| Process | Pros | Cons | Best For |
|---|---|---|---|
| Stick (SMAW) | Portable, versatile, works in all positions | Slower, produces slag | Field repairs on steel |
| MIG (GMAW) | Fast, clean welds, easy to learn | Requires shielding gas | Fabrication and shop work |
| Flux-Cored (FCAW) | High deposition rate, good outdoors | More spatter, less clean | Heavy steel sections |
| TIG (GTAW) | Highest quality, precise control | Slow, requires high skill | Aluminum, thin steel |
4. Location and Accessibility
- Never attempt welding while the tank is installed in the vehicle. Proximity to wiring, fuel lines, and flammable materials makes this extremely dangerous.
- Remove the tank completely before starting any welding procedure.
- Ensure adequate workspace clearance and proper grounding to avoid stray arcs.
5. Equipment and Skill Requirements
- Appropriate welder setup for the material (steel, aluminum, or plastic).
- Proper filler material, shielding gas (if applicable), and consumables.
- Grinding and clamping tools for edge preparation and fit-up.
- Specialized cleaning and purging equipment.
- Highly skilled welder with experience in fuel system repairs.
6. Strict Safety Protocols
a. Personal Protective Equipment (PPE)
- Auto-darkening welding helmet
- Fire-retardant jacket, gloves, and pants
- Safety glasses and respiratory protection
- Hearing protection in noisy environments
b. Fire Prevention
- Keep Class B fire extinguishers nearby.
- Clear work area of flammable materials.
- Wet down surrounding surfaces to reduce fire risk.
- Have a trained “fire watch” person present during and after welding.
c. Ventilation
- Ensure adequate airflow to disperse fumes, especially when working with aluminum or coated steels.
- Use fume extraction systems where possible.
d. Gas Detection (Optional but Advised)
- Use combustible gas detectors to confirm the absence of explosive vapors before welding.
Making the Right Decision
Welding a fuel tank can be a cost-effective and technically viable option when performed correctly. It allows for the preservation of original equipment, reduces downtime, and avoids the need for sourcing rare or expensive OEM parts.
However, the process is inherently risky and must never be taken lightly. Improper preparation, poor technique, or insufficient safety measures can result in catastrophic outcomes — including explosions, fires, and severe injury.
For most vehicle owners, the safest and most reliable path is to consult with a certified welder or mechanic experienced in fuel system repairs. These professionals have:
- The right tools and facilities
- Knowledge of local regulations and safety standards
- The skills to assess, prepare, and execute a safe and durable repair
Ultimately, whether you choose to repair or replace a fuel tank, safety must always come first. No shortcut or compromise should ever outweigh the importance of protecting life, property, and the environment.
Final Checklist Before Proceeding with Fuel Tank Welding
- All fuel drained
- Tank purged of vapors using inert gas or water method
- Entire weld area cleaned to bare metal
- Correct welding process selected based on material
- Appropriate PPE worn
- Fire extinguishers ready
- Tank removed from vehicle
- Certified welder involved
- Safe, well-ventilated workspace ensured