How to Test a Generator’s Output Voltage and Frequency: A Step-by-Step Guide
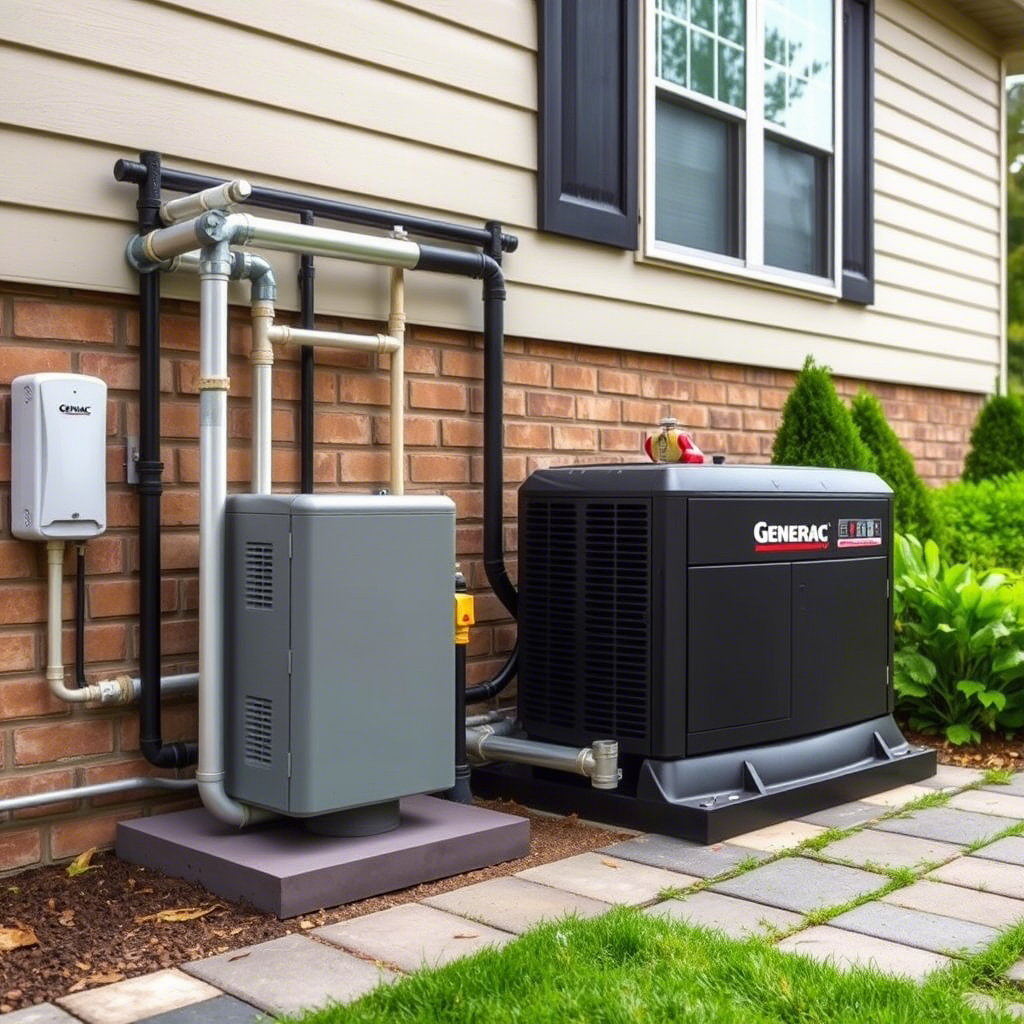
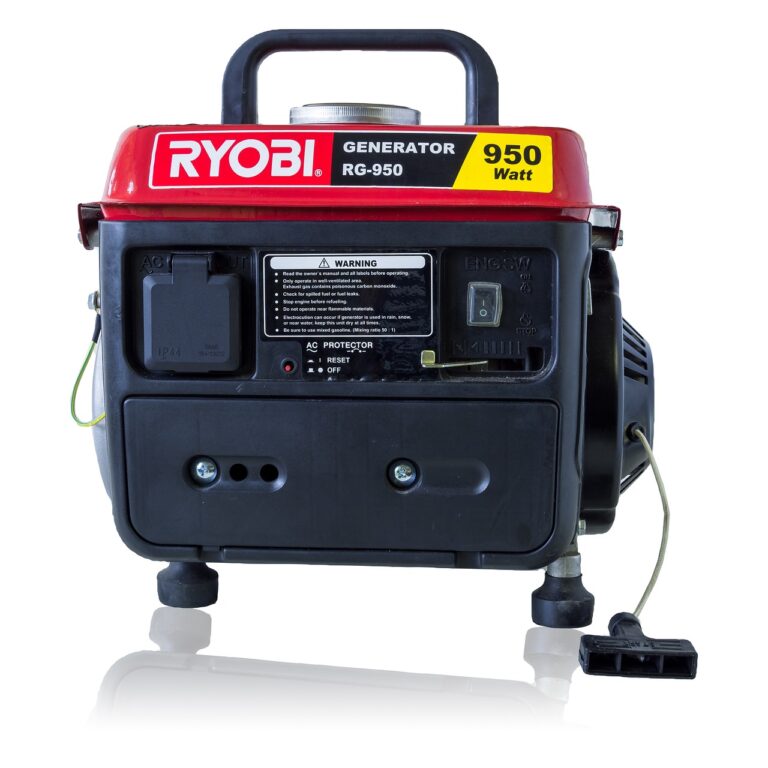
Generators are essential for providing power during outages or in off-grid settings. Whether you’re using a portable generator at home, powering an RV, or relying on a standby unit for your business, ensuring that your generator produces stable and safe electricity is crucial.
One of the most important ways to maintain your generator’s performance—and protect your appliances—is by regularly testing its output voltage and frequency. In this guide, we’ll walk you through how to test these critical parameters step-by-step, explain why they matter, and offer troubleshooting tips.
Understanding Generator Output Basics
Before diving into how to test your generator, it helps to understand what you’re measuring and why it matters.
What is Voltage?
Voltage is the electrical pressure that pushes current through a circuit. It’s measured in volts (V). Most residential generators produce either 120V or 240V, depending on their design and use.
Acceptable Range:
- For a 120V system: 114V to 126V (±5%)
- For a 240V system: 228V to 252V (±5%)
Excessive deviations can damage electronics, cause motors to overheat, or prevent devices from working altogether.
What is Frequency?
Frequency refers to how many times per second the alternating current changes direction. It’s measured in hertz (Hz). The standard in North America is 60Hz, while most other countries operate on 50Hz.
Acceptable Deviation:
- Typically ±0.5Hz to ±1Hz
Frequency is directly tied to the generator’s engine speed. If the engine runs too fast or slow, the frequency will be off—potentially damaging sensitive equipment like computers, UPS systems, or variable-speed motors.
Relationship Between Voltage and Frequency
Both voltage and frequency depend on the generator’s engine speed and internal regulation systems. While voltage is primarily controlled by the Automatic Voltage Regulator (AVR), frequency is governed by the engine governor.
If the engine doesn’t run at the correct RPM (revolutions per minute), both voltage and frequency may fluctuate. This interdependence means issues with one often affect the other.
Tools You’ll Need
To test your generator’s output, you don’t need a lot of tools—but the right ones make all the difference.
Digital Multimeter (DMM)
A digital multimeter is the primary tool used to measure voltage and frequency. Look for a model that has:
- AC voltage measurement
- Frequency (Hz) mode
- Overload protection
- CAT III or CAT IV safety rating
Recommended models:
- Fluke 117
- Klein Tools MM700
- AstroAI Digital Multimeter
Clamp Meter (Optional)
Clamp meters are useful for measuring current without breaking the circuit. They’re helpful when load-testing your generator.
Dedicated Frequency Meter (Alternative)
Some older or specialized setups might require a dedicated frequency meter, especially if your multimeter lacks Hz measurement capabilities.
Safety Gear
Safety first! Always wear:
- Insulated gloves
- Safety glasses
- Non-conductive footwear
- Use insulated tools
Safety Precautions Before Testing
Testing live circuits carries risks. Follow these precautions carefully:
- Turn off all connected devices before starting.
- Ensure the generator is properly grounded.
- Avoid testing in wet or damp conditions.
- Allow the generator to warm up for 5–10 minutes before testing.
- Never touch live wires or terminals.
- Keep children and pets away from the testing area.
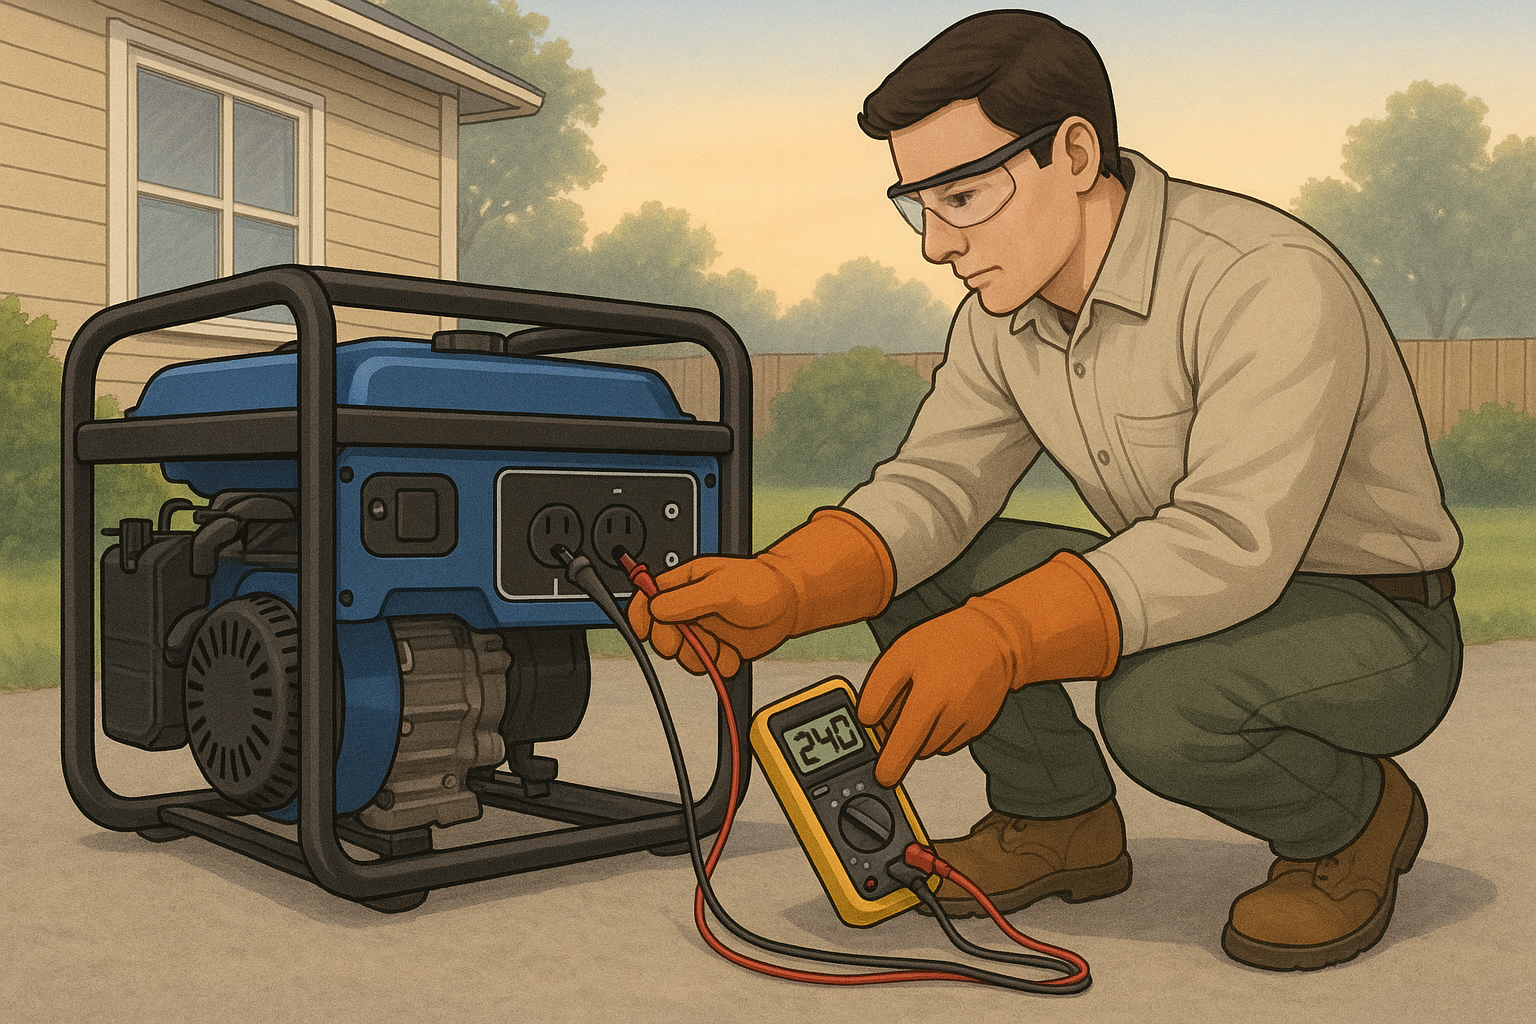
Step-by-Step Guide to Testing Voltage
Step 1: Prepare the Generator
- Start the generator and let it warm up.
- Check for any unusual sounds or smells.
- Make sure it’s running smoothly under no load.
Step 2: Set Up Your Multimeter
- Turn the dial to AC Voltage (~V or VAC).
- Insert the black probe into the COM port.
- Insert the red probe into the VΩ port.
Step 3: Measure the Voltage
- Touch the black probe to the neutral terminal (usually labeled “N” or white).
- Touch the red probe to the hot terminal (usually labeled “L” or black/red).
- Read the display and record the value.
Repeat for each outlet or phase if you’re testing a three-phase generator.
Step 4: Interpret the Results
Compare your reading to the acceptable range:
- 120V system: 114V–126V
- 240V system: 228V–252V
If the reading is outside this range:
- Check for loose connections
- Inspect the AVR for faults
- Consider professional servicing
Step-by-Step Guide to Testing Frequency
Step 1: Set Up Your Multimeter
- Switch the dial to Hz mode (frequency).
- Some meters require holding down a function button to switch between Hz and voltage.
Step 2: Measure the Frequency
Use the same connection points as the voltage test:
- Black probe to neutral
- Red probe to hot
Wait for the reading to stabilize.
Step 3: Interpret the Results
The expected frequency depends on your location:
- North America/Parts of Japan: 60Hz
- Most other regions: 50Hz
Acceptable deviation:
- ±0.5Hz to ±1Hz
If the frequency is off:
- Check engine RPM
- Look for governor issues
- Investigate fuel delivery problems
Common Issues and Solutions
Here are some common problems you might encounter during testing—and how to fix them.
| Issue | Possible Cause | Solution |
|---|---|---|
| Low voltage | Loose wiring, faulty AVR, overload | Tighten connections, replace AVR, reduce load |
| High voltage | Faulty regulator, poor grounding | Replace regulator, check grounding |
| Unstable frequency | Engine governor issues, unstable load | Adjust governor, balance load |
| Voltage imbalance (3-phase) | Internal winding issue | Call a technician |
Note: If you’re unsure about diagnosing or repairing generator issues, always consult a qualified electrician or generator service technician.
Maintenance Tips for Stable Output
Regular maintenance ensures consistent and safe generator operation:
- Inspect and clean air filters, fuel lines, and spark plugs.
- Check oil levels and change regularly.
- Test the battery (if applicable).
- Run the generator under load periodically.
- Store in a dry, cool place when not in use.
Advanced Testing for Professionals
For commercial or industrial applications, more advanced testing may be required:
- Power Quality Analyzers: Detect harmonics, surges, and waveform distortion.
- Load Bank Testing: Simulates real-world loads to stress-test the generator.
- Data Logging: Monitor voltage and frequency trends over time.
- Three-phase balancing tests
These tests help identify hidden issues that simple spot checks might miss.
Conclusion
Testing your generator’s output voltage and frequency is a vital part of routine maintenance. By doing so, you ensure the longevity of your generator and the safety of the devices it powers.
Remember:
- Always prioritize safety
- Use the right tools
- Understand what the readings mean
- Address issues early
By following this guide, you can confidently monitor your generator’s performance and avoid costly repairs—or worse—damaged appliances.
Frequently Asked Questions (FAQs)
Q: Can I test a generator without a multimeter?
A: Basic visual inspections and listening for irregularities can help, but accurate voltage and frequency testing require a multimeter or tester.
Q: What should I do if my generator produces unstable voltage?
A: Check for loose connections, inspect the AVR, and consider professional diagnostics if the problem persists.
Q: Is it safe to use appliances if frequency is slightly off?
A: Minor deviations (within ±0.5Hz) are usually acceptable, but prolonged exposure to incorrect frequency can damage sensitive electronics.
Q: How often should I test my generator?
A: At least once every 3–6 months, or before extended use (e.g., hurricane season).