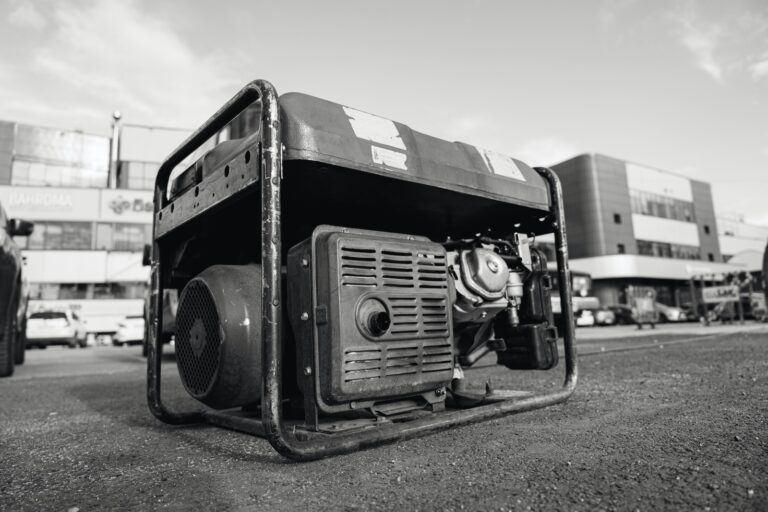
How to Test a Generator’s Output Voltage and Frequency
Generators are indispensable assets for providing backup or primary power in residential, commercial, and industrial settings. From powering critical infrastructure during outages to serving as the main source of electricity in remote areas, generators play a pivotal role in modern life. However, ensuring their reliable operation requires regular maintenance and testing. Among the most crucial parameters to monitor are output voltage and frequency, as they directly impact the performance and safety of connected equipment.
Incorrect voltage or frequency can lead to severe consequences, including equipment damage, reduced efficiency, and even safety hazards such as fires or electric shocks. This article provides a detailed, step-by-step guide on how to test a generator’s output voltage and frequency, along with essential safety precautions, troubleshooting tips, and maintenance practices. Whether you’re a homeowner, facility manager, or professional technician, mastering these procedures will help you keep your generator in peak condition and ensure it remains a dependable power source for years to come.
Tools Needed
| Tool Name | Purpose | Example Product | Amazon Link |
|---|---|---|---|
| Digital Multimeter (DMM) | Measures AC/DC voltage, frequency, and continuity. | Fluke 117 Electrician’s Multimeter | Fluke 117 |
| Clamp Meter | Measures current (amps) alongside voltage for power calculations. | Klein Tools CL800 Clamp Meter | Klein Tools CL800 |
| Frequency Meter | Dedicated device for precise frequency measurement. | Extech 461950 Digital Tachometer (with frequency mode) | Extech 461950 |
| Portable Load Bank | Simulates electrical load to test generator performance under demand. | Simplex 5000W Portable Load Bank (for small generators) | Simplex Load Bank |
| Insulated Gloves | Protects against electric shock during live testing. | Klein Tools 40074 Insulated Rubber Gloves (Class 0, 1000V) | Klein Tools Gloves |
| Safety Goggles | Shields eyes from sparks or debris. | DeWalt DPG82-11C Concealer Clear Anti-Fog Safety Goggles | DeWalt Goggles |
| Non-Contact Voltage Tester | Quickly detects live voltage without direct contact. | Fluke 1AC-A1-II VoltAlert Non-Contact Voltage Tester | Fluke 1AC |
| Tachometer | Measures engine RPM to verify frequency (e.g., 1800 RPM = 60 Hz). | Neiko 20713A Digital Laser Tachometer | Neiko Tachometer |
| Voltage Regulator Tester | Tests the Automatic Voltage Regulator (AVR) for stability. | DROK AVR Automatic Voltage Regulator (for troubleshooting) | DROK AVR |
| Multifunction Power Meter | Monitors voltage, frequency, power (kW), and energy consumption. | P3 P4400 Kill A Watt Electricity Usage Monitor | P3 P4400 |
Why Test Voltage and Frequency?
Before diving into the testing process, it’s important to understand why measuring voltage and frequency is so critical. These parameters are not just technical specifications—they are vital indicators of a generator’s health and performance.
Voltage Stability
Proper voltage ensures that connected devices operate efficiently. Overvoltage can damage sensitive electronics by exceeding their rated input limits, while undervoltage may cause motors to overheat or malfunction. In three-phase systems, voltage imbalances can lead to uneven wear on equipment, reducing both the generator’s lifespan and the reliability of the devices it powers.
Frequency Consistency
Frequency, measured in Hertz (Hz), directly correlates to the generator’s engine speed. Most generators operate at either 50 Hz (common in Europe and Asia) or 60 Hz (standard in North America). Deviations from the rated frequency can disrupt clocks, motors, and sensitive equipment like medical devices or servers. For example, an unstable frequency might cause a motor to run too fast or too slow, leading to inefficiencies or mechanical failure. Additionally, frequency instability often indicates underlying issues with the engine or its governor system.
Compliance and Safety
Meeting industry standards, such as those set by ISO or IEEE, ensures compatibility with grid power and avoids legal liabilities. Regular testing helps identify wiring faults, loose connections, or insulation breakdowns that could pose significant safety risks, including fires or electric shocks. By adhering to proper testing protocols, you not only protect your equipment but also safeguard the people who rely on the generator for power.
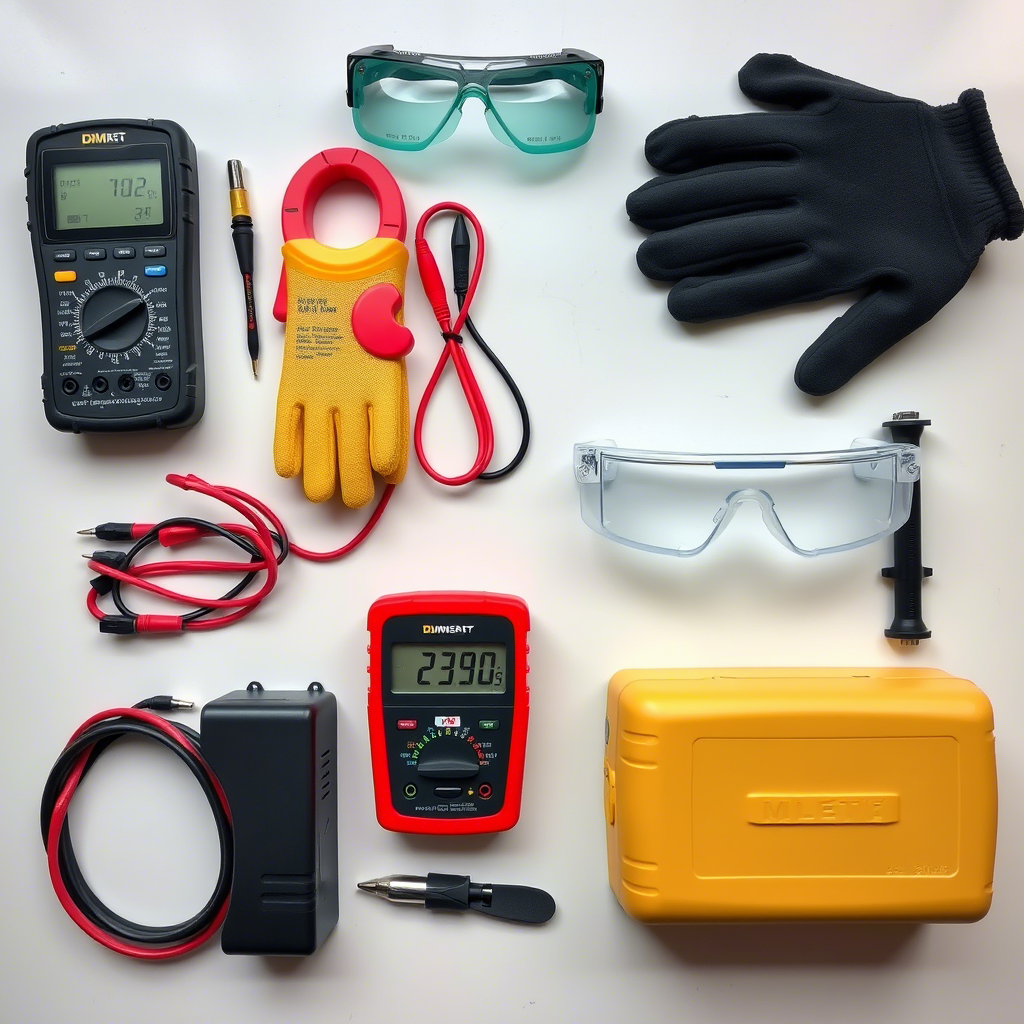
Tools Required for Testing
To accurately measure voltage and frequency, you’ll need the following tools:
- Digital Multimeter (DMM):
A high-quality DMM with voltage (AC/DC) and frequency measurement capabilities is essential. Ensure it’s rated for the generator’s maximum voltage (e.g., 600V CAT III). - Clamp Meter:
Useful for measuring current alongside voltage to calculate power (Watts = Volts × Amps). - Frequency Meter or Tachometer:
Dedicated frequency meters provide precise readings. Alternatively, some DMMs include a frequency function. - Load Bank (Optional):
A load bank simulates electrical load, allowing you to test the generator under varying conditions (e.g., 25%, 50%, 75%, 100% load). - Personal Protective Equipment (PPE):
Insulated gloves, safety goggles, and flame-resistant clothing are non-negotiable when working with live electrical equipment.
Safety Precautions
Testing live electrical equipment carries inherent risks. Follow these precautions to ensure your safety:
- De-energize Before Setup:
Shut off the generator and disconnect it from loads or the grid. Use lockout/tagout (LOTO) procedures if applicable. - Avoid Wet Conditions:
Moisture increases the risk of electrocution. Always test in dry environments. - Ensure Proper Ventilation:
Generators emit carbon monoxide, a deadly gas. Operate them outdoors or in well-ventilated areas. - Inspect Tools and Cables:
Check for damaged probes, frayed wires, or cracked insulation before use. - Stable Placement:
Secure the generator on a flat surface to prevent tipping during operation.
Step-by-Step Testing Procedure
1. Pre-Test Preparation
- Review the Manual:
Consult the generator’s manual for rated voltage, frequency, and any specific testing recommendations. - Visual Inspection:
Check for loose terminals, corroded wires, or burnt components. Address any visible issues before proceeding. - Warm Up the Generator:
Run the generator for 10–15 minutes to stabilize engine temperature and output.
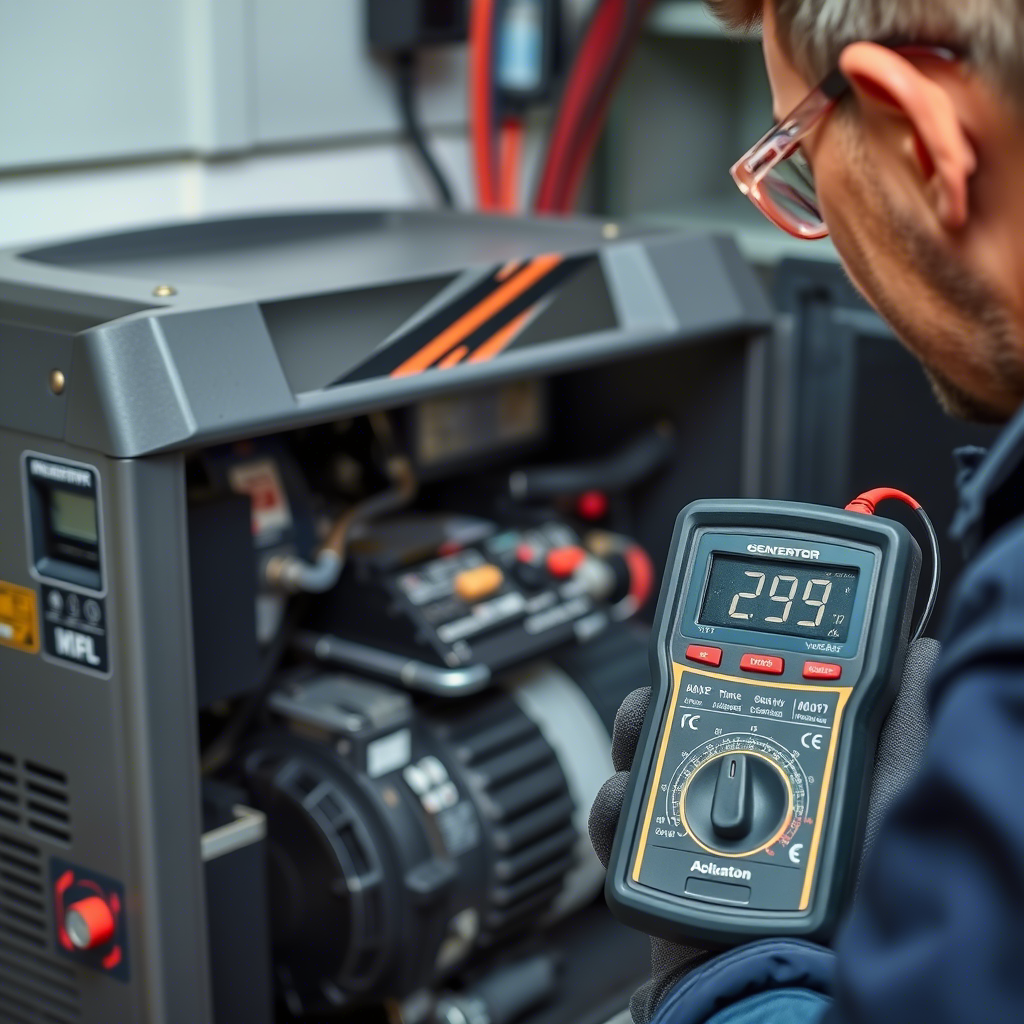
2. Testing No-Load Voltage and Frequency
- Set Up the Multimeter:
Switch the DMM to AC voltage mode. For three-phase generators, select the appropriate range (e.g., 400V). - Measure Voltage:
- Single-Phase Generators:
Insert the probes into the output sockets (e.g., L1 and Neutral for 120V, L1 and L2 for 240V). - Three-Phase Generators:
Measure line-to-line (L1-L2, L2-L3, L3-L1) and line-to-neutral voltages. Record readings and compare them to the rated voltage (±5% is generally acceptable). - Measure Frequency:
Switch the DMM to frequency mode. Place the probes in the same terminals used for voltage testing. A stable 50 Hz or 60 Hz reading indicates proper engine speed.
3. Testing Under Load
- Connect a Load Bank or Appliances:
Gradually apply load in increments (25%, 50%, etc.). Avoid sudden load changes. - Monitor Voltage and Frequency:
Voltage should remain within ±5% of the rated value. Frequency should stay within ±1 Hz under load. - Check for Voltage Dips/Surges:
Sudden drops or spikes may indicate a faulty Automatic Voltage Regulator (AVR) or governor.
4. Adjusting Voltage and Frequency
- Voltage Adjustment:
Locate the AVR (typically on the control panel). Use a screwdriver to adjust the voltage potentiometer. - Frequency Adjustment:
Adjust the engine governor to increase/decrease RPM. For example, 1,800 RPM yields 60 Hz (3,000 RPM for 50 Hz in some models).
5. Document Results
Record voltage, frequency, and load levels. Compare them to the manufacturer’s specifications for future reference.
Troubleshooting Common Issues
Even with regular testing, generators can experience issues. Here are some common problems and their solutions:
- Low/High Voltage:
Causes: Faulty AVR, worn brushes, or overloaded generator.
Solutions: Replace the AVR, clean slip rings, or reduce the load. - Unstable Frequency:
Causes: Dirty fuel injectors, governor malfunctions, or incorrect RPM.
Solutions: Clean the fuel system, calibrate the governor, or adjust the throttle. - Fluctuating Readings:
Causes: Loose wiring, poor connections, or harmonic distortion from non-linear loads.
Solutions: Tighten terminals, inspect cables, or add a harmonic filter.
Maintenance Tips for Optimal Performance
Regular maintenance is key to extending the generator’s lifespan and ensuring reliable operation. Here are some best practices:
- Regular Cleaning:
Remove dust and debris from cooling fins and air filters to prevent overheating. - Oil and Filter Changes:
Follow the manual’s schedule (typically every 50–200 hours). - Load Testing:
Perform monthly load tests to prevent “wet stacking” in diesel generators. - Professional Servicing:
Schedule annual inspections by certified technicians to address potential issues proactively.
Conclusion
Testing a generator’s output voltage and frequency is a straightforward yet critical task to ensure reliability and safety. By using the right tools, adhering to safety protocols, and understanding how to interpret results, you can prevent costly downtime and equipment damage. Regular maintenance and prompt troubleshooting further extend the generator’s lifespan, making it a dependable power source for years to come. Whether you’re a homeowner, facility manager, or technician, mastering these procedures empowers you to keep your generator in peak condition.
With this comprehensive guide, you now have the knowledge and tools to confidently test and maintain your generator. Remember, a well-maintained generator is not just a backup—it’s peace of mind during power outages and emergencies.