How do I properly winterize my portable generator?
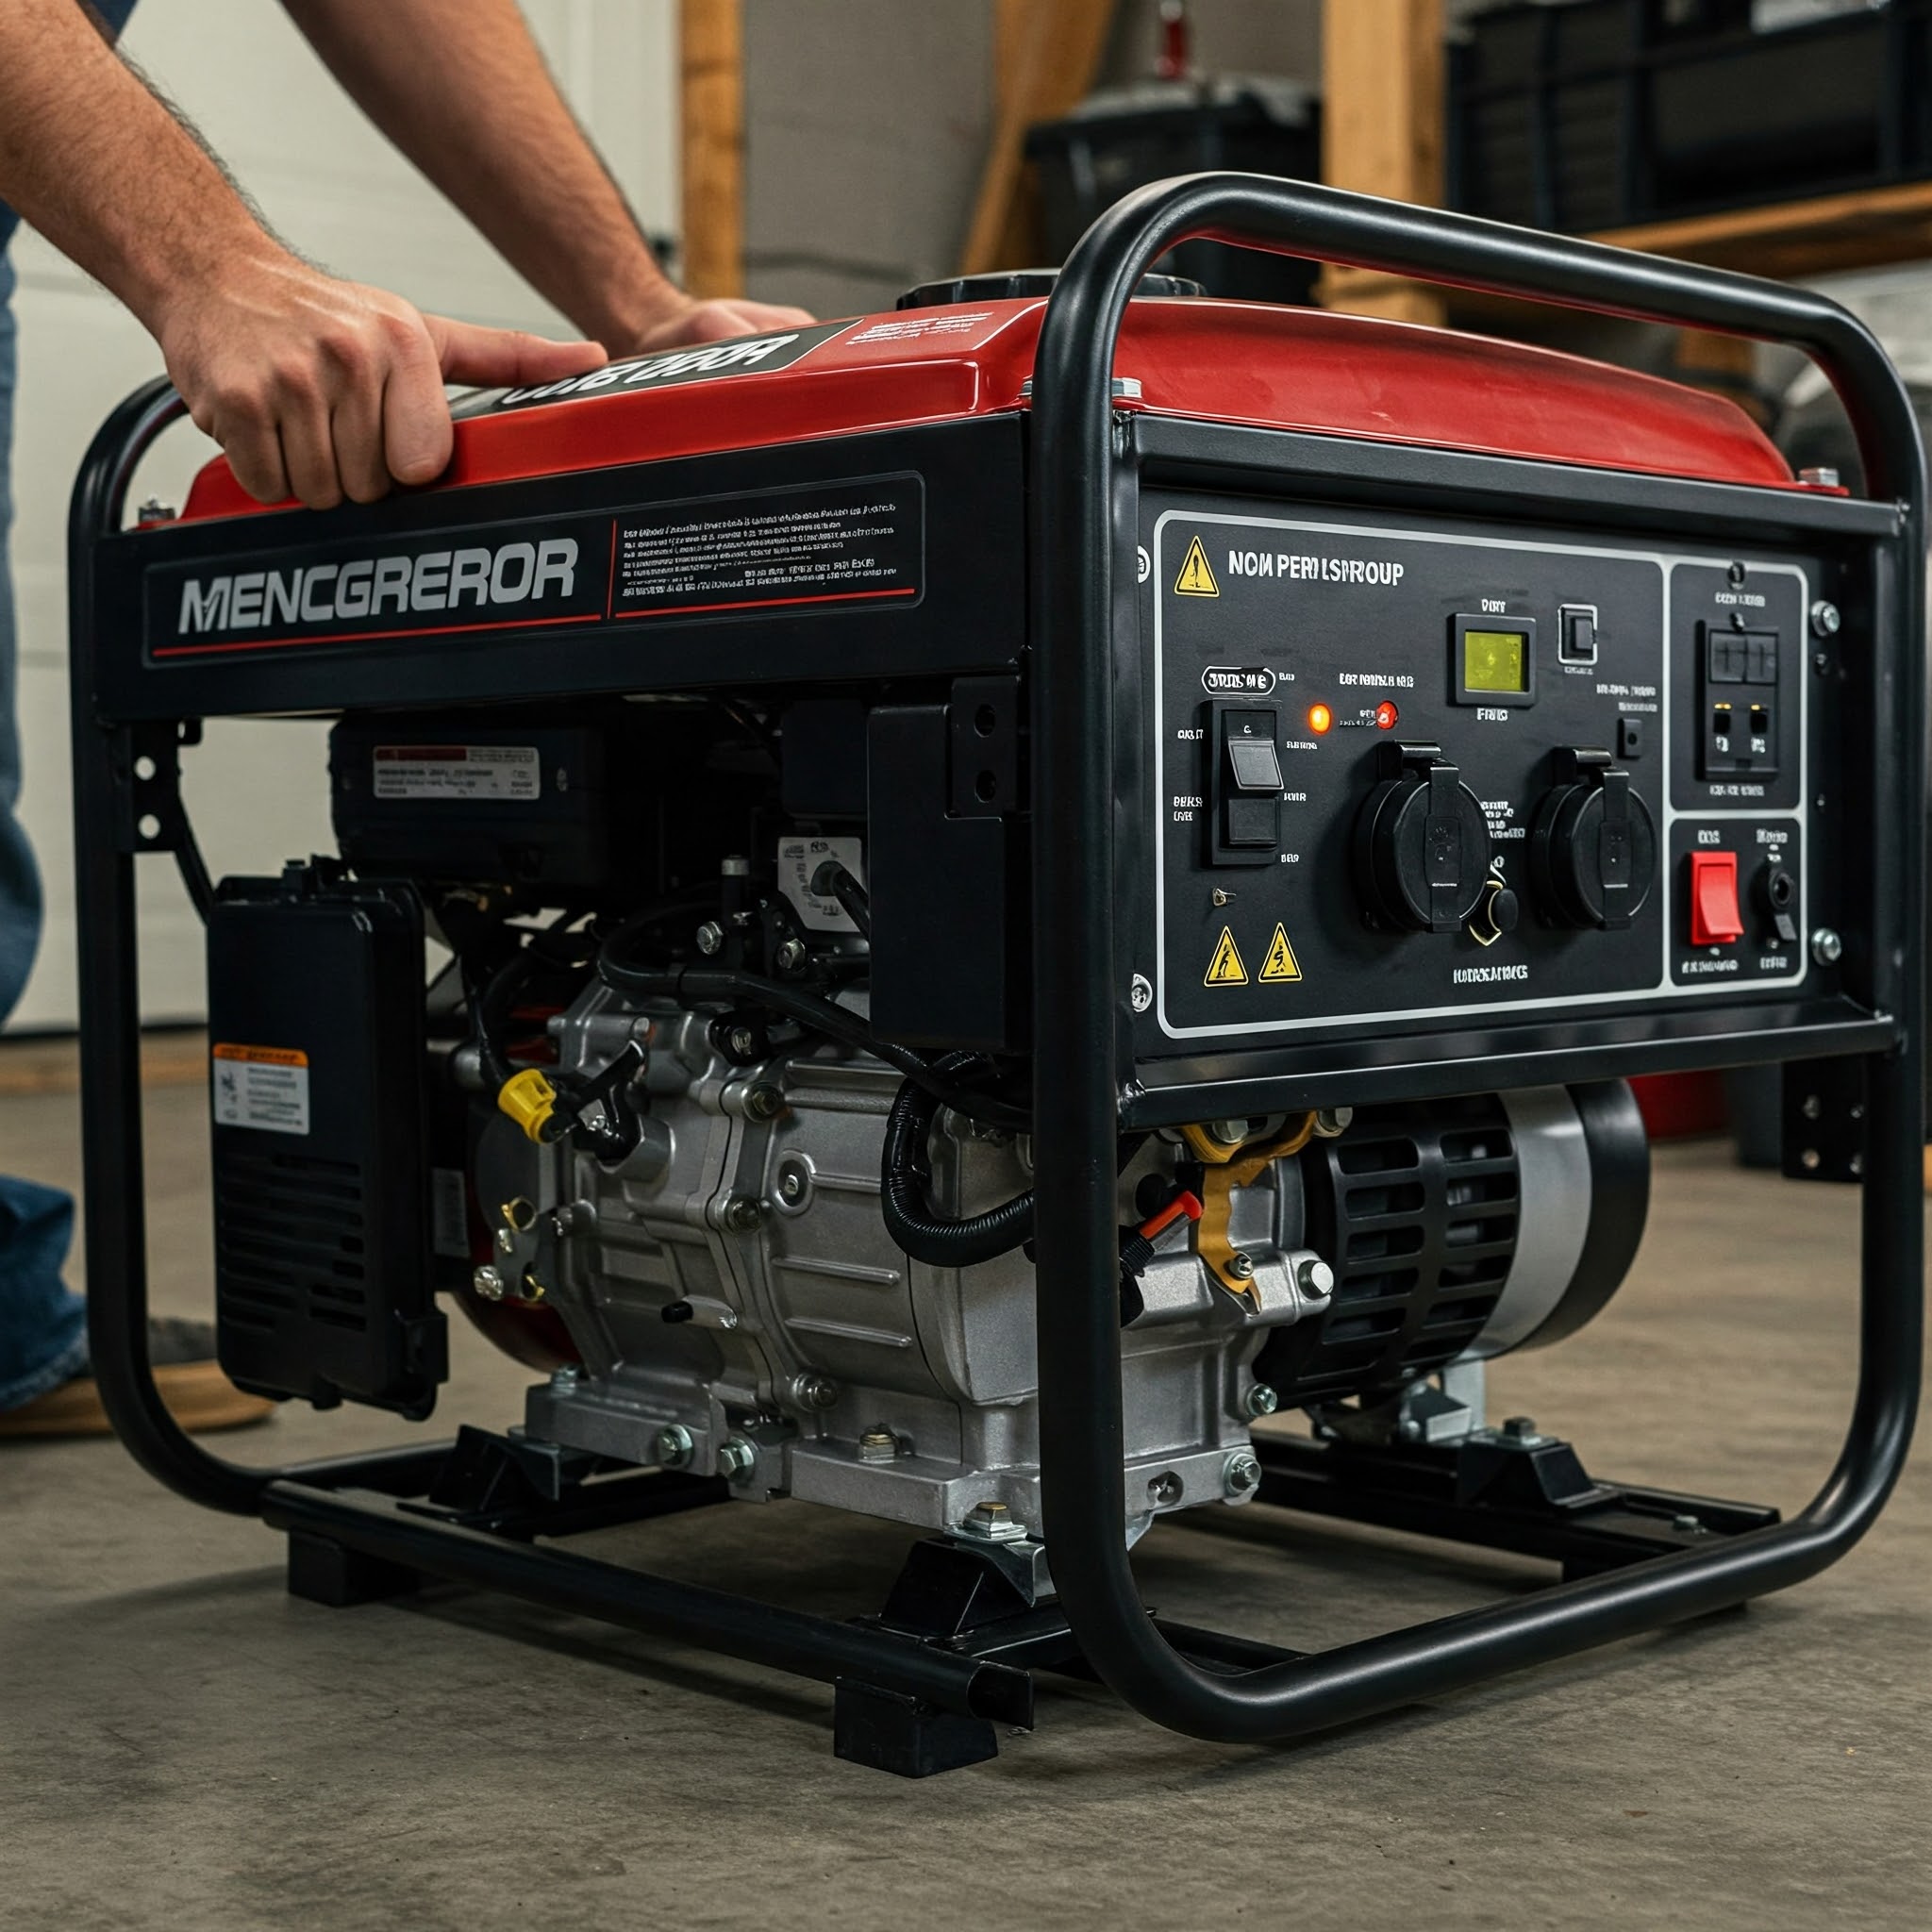
Winterizing your portable generator is an important step in ensuring that it will be ready to use when you need it most. In this article, we’ll walk you through the process of properly winterizing your portable generator so that it will be in top working condition when the cold weather hits.
Step 1: Clean Your Generator
The first step in winterizing your portable generator is to give it a good cleaning. This means removing any dirt, debris, or other buildups that may have accumulated on the exterior of the generator. Use a damp cloth or a mild detergent to clean the exterior of the generator, being sure to pay special attention to any areas that may have become particularly dirty or greasy.
Step 2: Drain the Fuel System
The next step in winterizing your portable generator is to drain the fuel system. This is important because any leftover fuel in the tank or fuel lines can become stale and gum up the works, making it difficult for your generator to start when the time comes. To drain the fuel system, start by turning off the fuel valve and allowing the engine to run until it runs out of fuel.
Step 3: Change the Oil and Air Filter
The oil and air filter in your portable generator play a critical role in keeping the engine running smoothly. To ensure that they are in top condition, it is important to change them both before storing your generator for the winter. Changing the oil is a simple process that can be done with a few basic tools. To change the air filter, simply remove the old filter and replace it with a new one.
Step 4: Store Your Generator in a Dry Place
Once your generator is cleaned, drained, and all of its fluids and filters have been changed, it’s time to store it for the winter. The best place to store your generator is in a dry, well-ventilated area where it will be protected from the elements. This could be a garage, shed, or even a spare room in your house.
Step 5: Check Your Generator Before Using It
Before using your generator after a long period of storage, it is important to check it over to make sure that it is still in good working order. This includes checking the oil level, the air filter, and the fuel system to make sure that everything is in good condition and ready to go. You can also run the generator for a few minutes to ensure that it is running smoothly.
| Step | Description |
|---|---|
| 1 | Clean the exterior of the generator using a damp cloth or mild detergent |
| 2 | Drain the fuel system by turning off the fuel valve and allowing the engine to run until it runs out of fuel |
| 3 | Change the oil and air filter |
| 4 | Store the generator in a dry, well-ventilated area |
| 5 | Check the generator before using it, including the oil level, air filter, and fuel system |
By following these simple steps, you can properly winterize your portable generator and ensure that it will be ready to use when you need it most. Remember, the best way to protect your generator is to keep it clean, properly maintained, and stored in a dry and well-ventilated place. By doing so, you’ll be able to enjoy the peace of mind that comes from knowing that your generator is ready to go whenever you need it.
In conclusion, winterizing your portable generator is an essential step in keeping it running smoothly and prolonging its lifespan. By following the simple steps outlined in this article, you can ensure that your generator is ready to go whenever you need it, and you can enjoy the peace of mind that comes from knowing that your generator is in top working condition.


