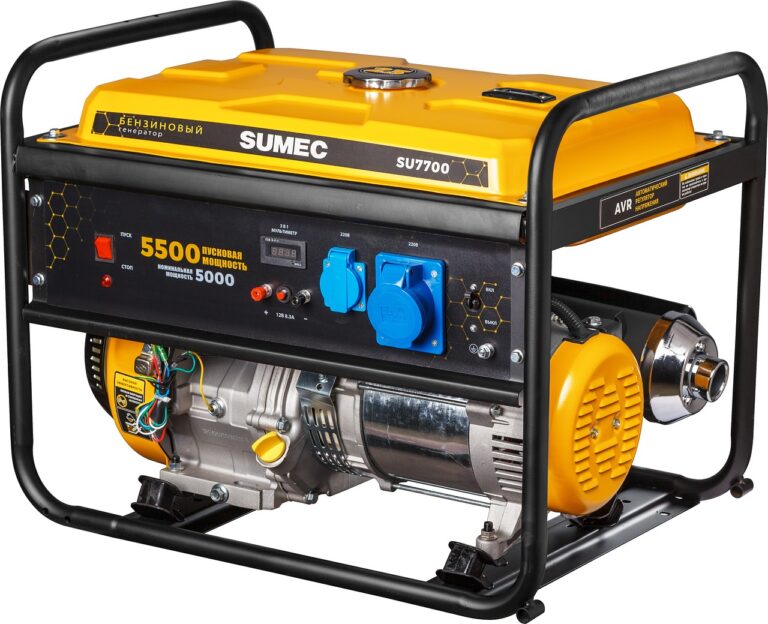
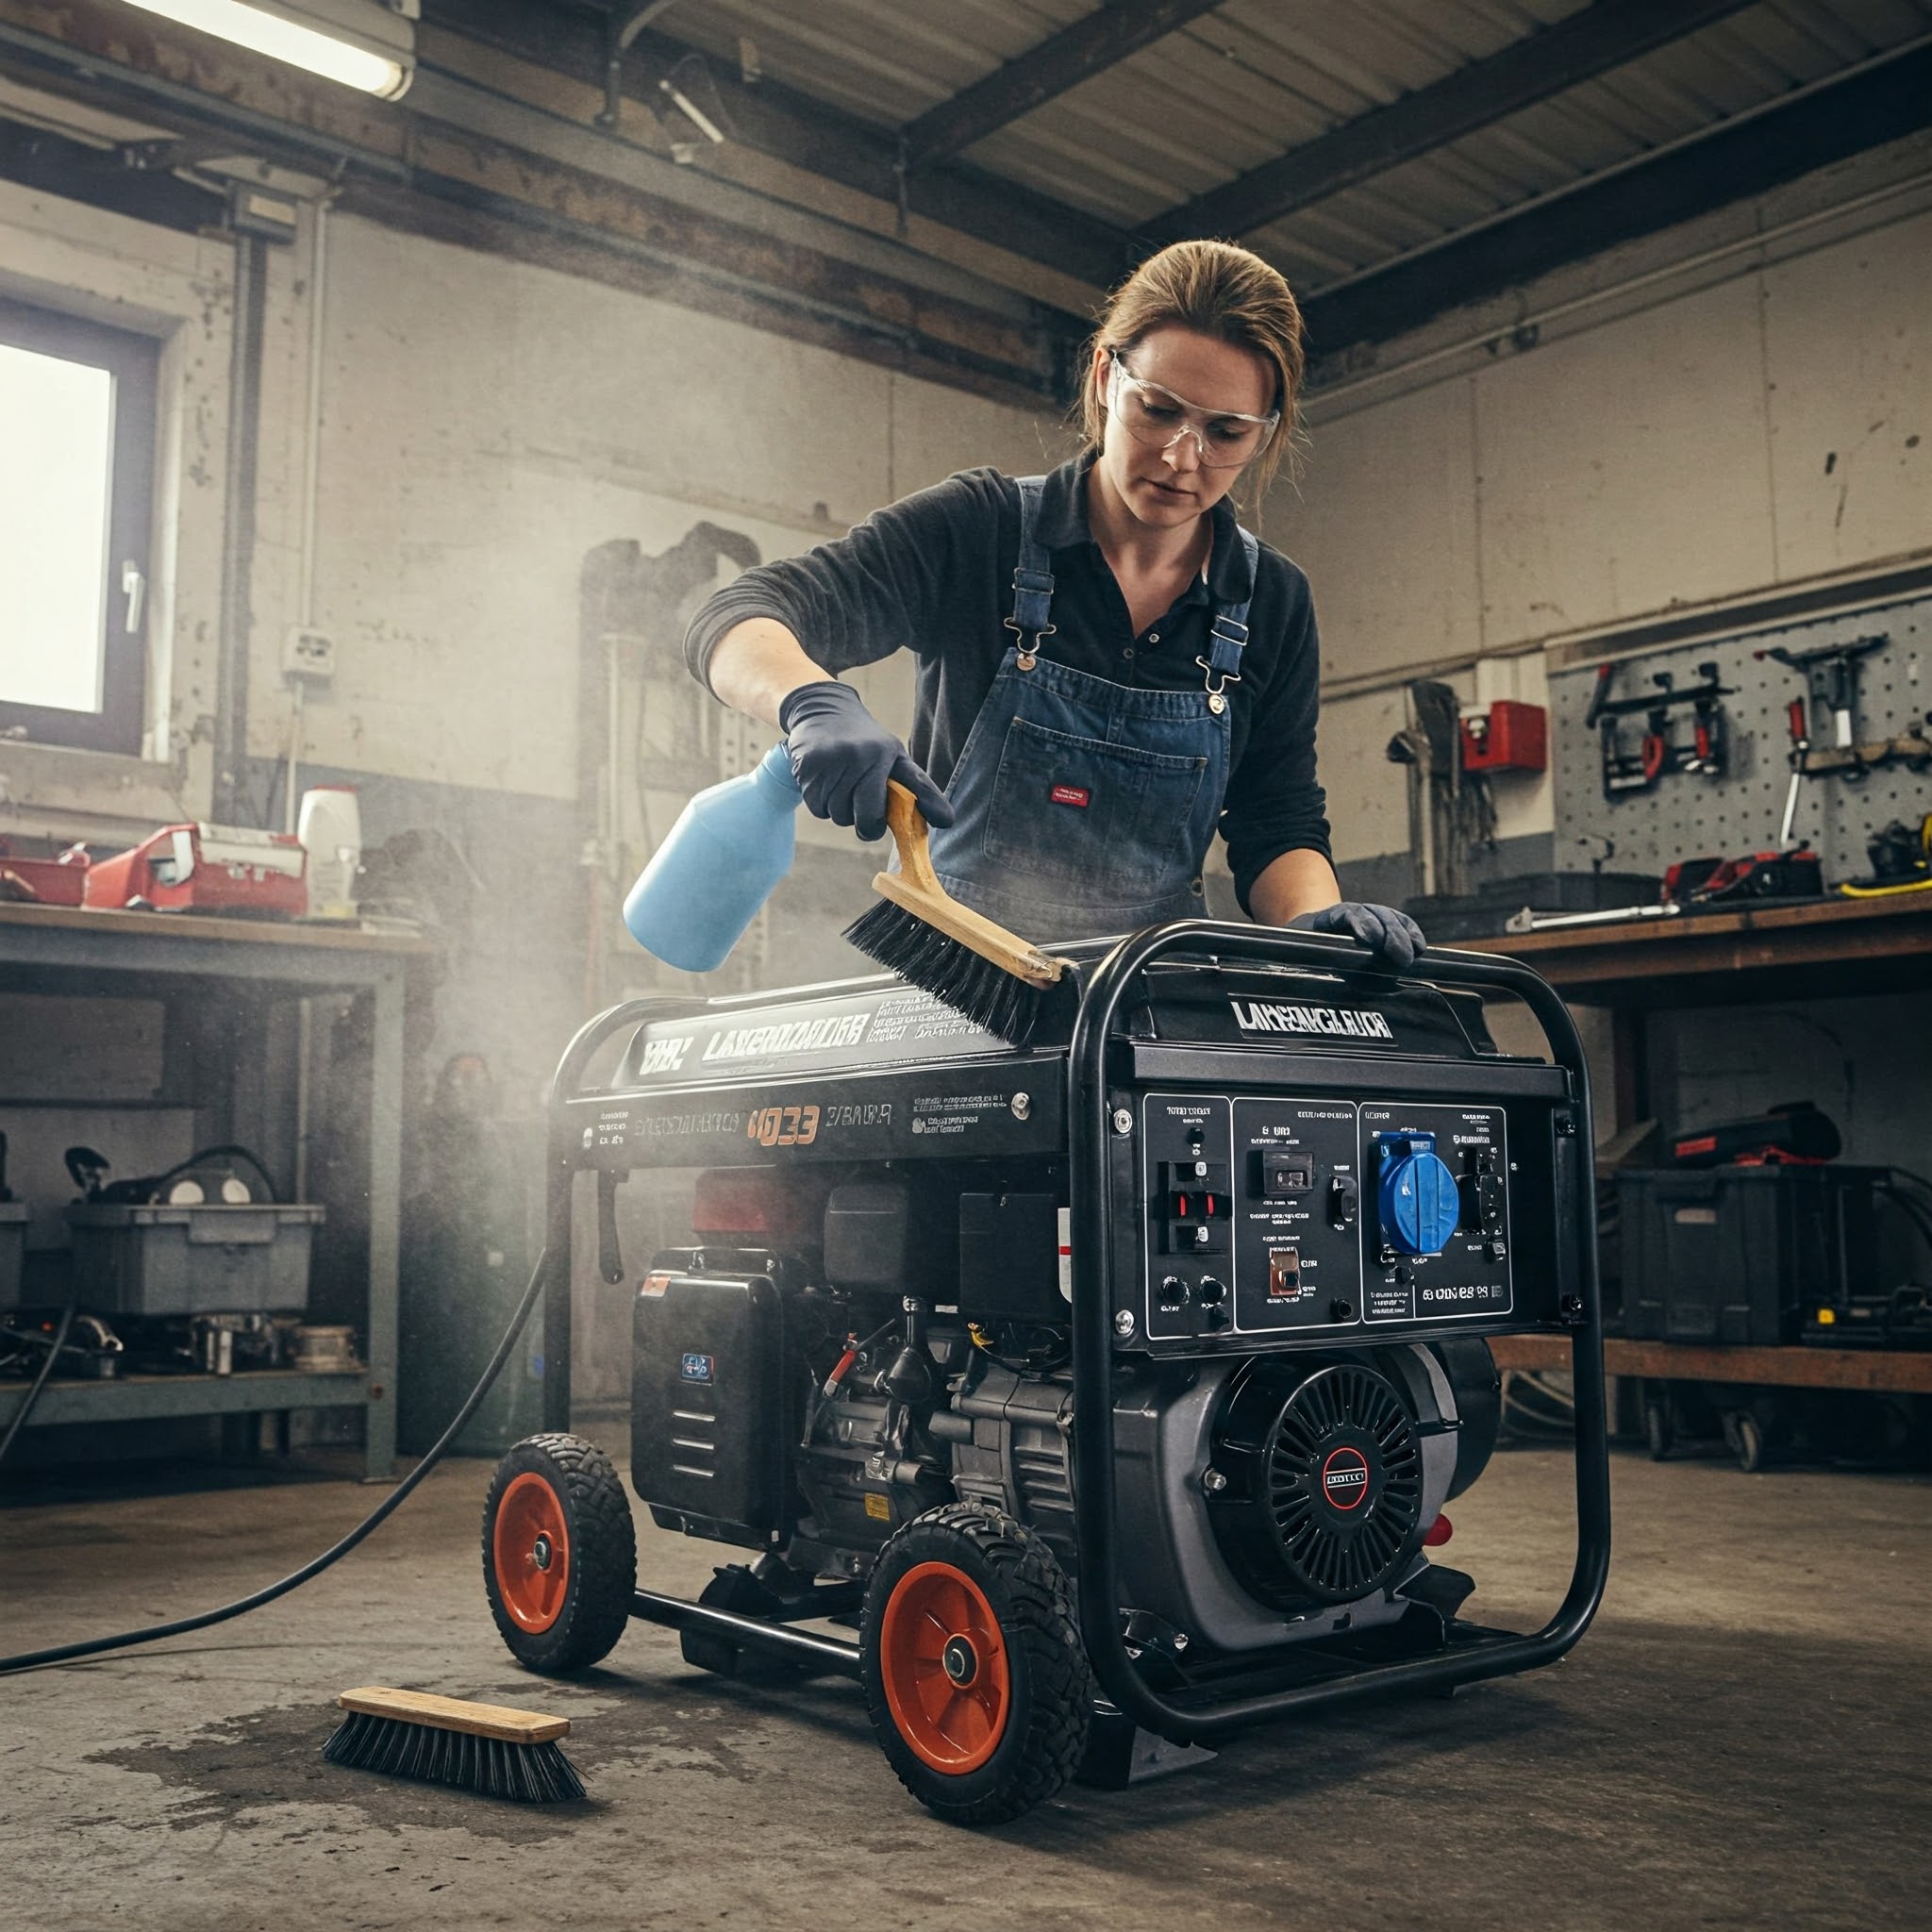
How do I properly check the fuel filter in my portable generator?
As a portable generator owner, it’s important to regularly check the fuel filter to ensure that your generator is running smoothly and efficiently. The fuel filter is responsible for removing any debris or contaminants from the fuel before it reaches the engine, and a dirty or clogged fuel filter can cause poor performance or prevent the generator from starting. In this article, I’ll walk you through the steps of how to properly check the fuel filter in your portable generator.
Step 1: Locate the fuel filter
The first step in checking the fuel filter is to locate it. The fuel filter is typically located near the generator’s fuel tank or in the fuel line between the fuel tank and the engine. Refer to your generator’s owner’s manual for the specific location of the fuel filter.
Step 2: Prepare to check the fuel filter
Before checking the fuel filter, make sure your generator is off and unplugged from any electrical devices.
Step 3: Check the fuel filter’s condition
Remove the fuel filter and inspect it for any debris or contaminants. A clean fuel filter should be clear and free of debris. If the fuel filter is dirty or clogged, it should be replaced.
Step 4: Check the fuel filter’s age
Check the fuel filter’s age by looking at the date code on the filter. Most fuel filters have a lifespan of 2 to 3 years. If the filter is older than 3 years, it may be time to replace it.
Step 5: Replace the fuel filter
If the fuel filter is dirty or clogged, or if it’s older than 3 years, it should be replaced. Replace the fuel filter with a new one of the same type and size as the original filter.
Step 6: Check the fuel filter regularly
It’s recommended to check the fuel filter in your generator every time you use it, or at least once a month
if it’s not used frequently. Regularly checking and replacing the fuel filter can help ensure that your generator is running smoothly and efficiently, and can prevent costly repairs down the road.
Example:
Let’s say you have a portable generator and you want to check the fuel filter before using it for the first time in a month.
- First, you would locate the fuel filter, it would be located near the generator’s fuel tank or in the fuel line between the fuel tank and the engine.
- Next, you would make sure that the generator is off and unplugged from any electrical devices.
- Remove the fuel filter and inspect it for any debris or contaminants. A clean fuel filter should be clear and free of debris.
- Check the fuel filter’s age by looking at the date code on the filter. Most fuel filters have a lifespan of 2 to 3 years.
- If the filter is dirty or clogged, or if it’s older than 3 years, replace it with a new one of the same type and size as the original filter.
- Repeat this process of checking the fuel filter every time you use the generator or at least once a month if it’s not used frequently.
In conclusion, regularly checking the fuel filter in your portable generator is an important task that can help ensure your generator runs smoothly and efficiently. By checking the condition, and age, and replacing the fuel filter, you can ensure that it’s in good condition and prevent any costly repairs. Remember to always refer to your generator’s owner’s manual for specific instructions and recommendations for checking and maintaining the fuel filter.


