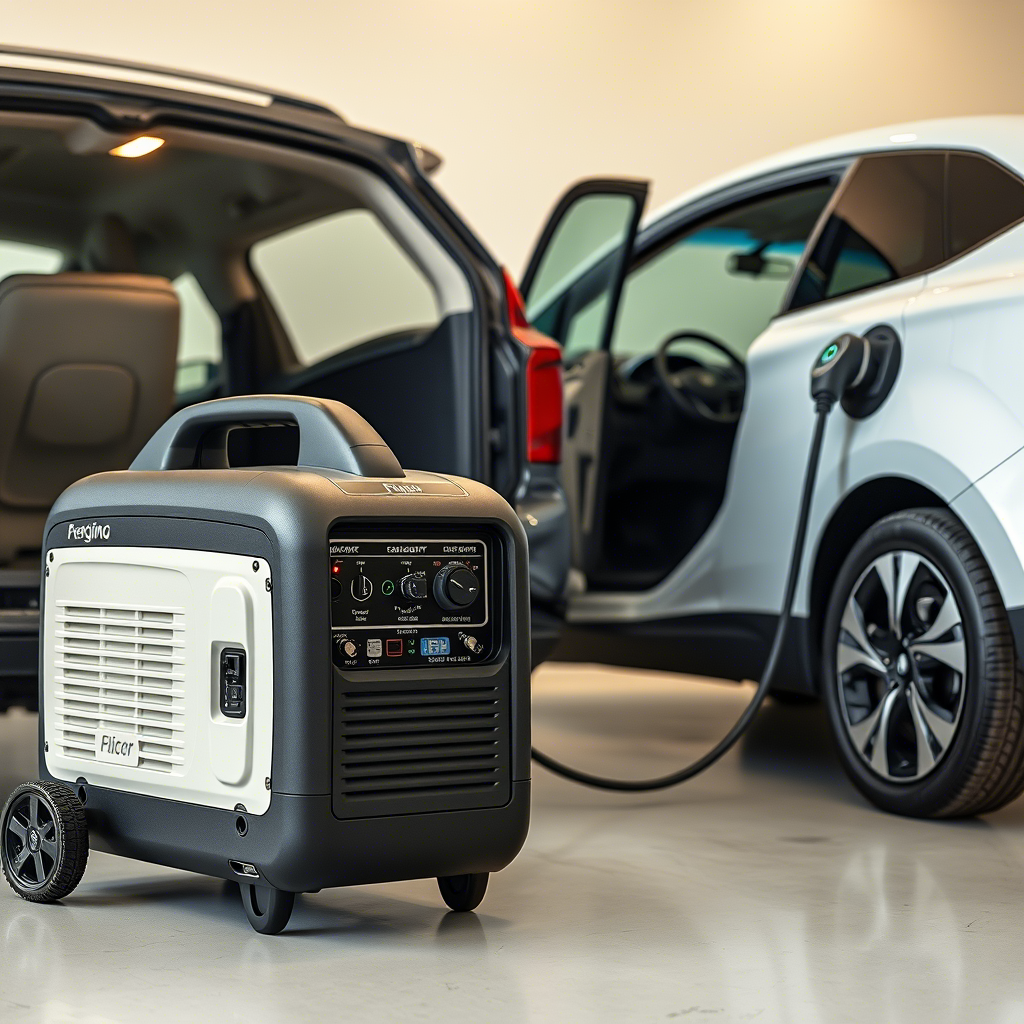
How do I properly check the air filter in my portable generator?
As a portable generator owner, it’s important to regularly check the air filter to ensure your generator is running smoothly and efficiently. The air filter is a crucial part of the generator’s carburetor, it helps to keep dirt and debris out of the carburetor and engine, which can cause damage over time. In this article, I’ll walk you through the steps of how to properly check the air filter in your portable generator.
It’s also important to note that some generators may have different types of air filters, such as a pre-filter or a secondary filter. Be sure to check your generator’s owner’s manual for specific instructions on how to check and maintain these filters. Additionally, some generators may have self-cleaning air filters, which may not require regular cleaning, but should be inspected for any damage or wear.
Step 1: Locate the air filter
The first step in checking the air filter is to locate it. The air filter is typically located near the carburetor, and it can be found by following the air intake hose that leads to the carburetor. On some generators, the air filter may be located under the generator or inside the control panel. Refer to your generator’s owner’s manual for the specific location of the air filter.
Step 2: Prepare to check the air filter
Before checking the air filter, make sure your generator is off and has cooled down for a few minutes if it has been running.
Step 3: Remove the air filter
Carefully remove the air filter from the generator. Be sure not to lose the air filter, as it’s an important part of the generator and should be kept with the owner’s manual.
Step 4: Inspect the air filter
With the air filter in hand, inspect it for dirt or debris. If the air filter is dirty, it should be cleaned or replaced. A dirty air filter will reduce the airflow to the carburetor, which can cause the generator to run poorly or not start at all.
Step 5: Clean or Replace the air filter
If the air filter is dirty, it should be cleaned or replaced. If it is made of foam or paper, it can be gently washed with soap and water and then air dried. Some air filters are reusable and can be cleaned with a brush and compressed air.
If the air filter is not reusable or is damaged, it should be replaced with a new one. Be sure to use the correct type of air filter recommended by the manufacturer. This information can be found in the owner’s manual or on the generator itself.
Step 6: Check the air filter regularly
It’s recommended to check the air filter in your generator every time you use it, or at least once a month if it’s not used frequently.
Let’s say you have a portable generator and you want to check the air filter before using it for the first time in a month.
- First, you would locate the air filter, it would be located near the carburetor.
- Next, you would make sure that the generator is off and has cooled down for a few minutes if it has been running.
- Carefully remove the air filter from the generator.
- Inspect the air filter for dirt or debris.
- If the air filter is dirty, it should be cleaned or replaced.
- If it is reusable, gently wash it with soap and water and then air dry it.
- If the air filter is not reusable or is damaged, it should be replaced with a new one.
- Use the correct type of air filter recommended by the manufacturer.
In summary, checking and maintaining the air filter in your portable generator is an important task that can help ensure your generator runs smoothly and efficiently. By regularly checking the air filter and cleaning or replacing it as needed, you can keep your generator running at peak performance and prolong its lifespan. Remember to always refer to your generator’s owner’s manual for specific instructions and recommendations for checking and maintaining the air filter.

