How do I properly check the battery in my portable generator?
As a portable generator owner, it’s important to regularly check the battery to ensure that your generator is running smoothly and efficiently. The battery is an essential part of the generator’s electrical system, and it’s responsible for providing power to the starter motor and other electrical components. In this article, I’ll walk you through the steps of how to properly check the battery in your portable generator.
Step 1: Locate the battery
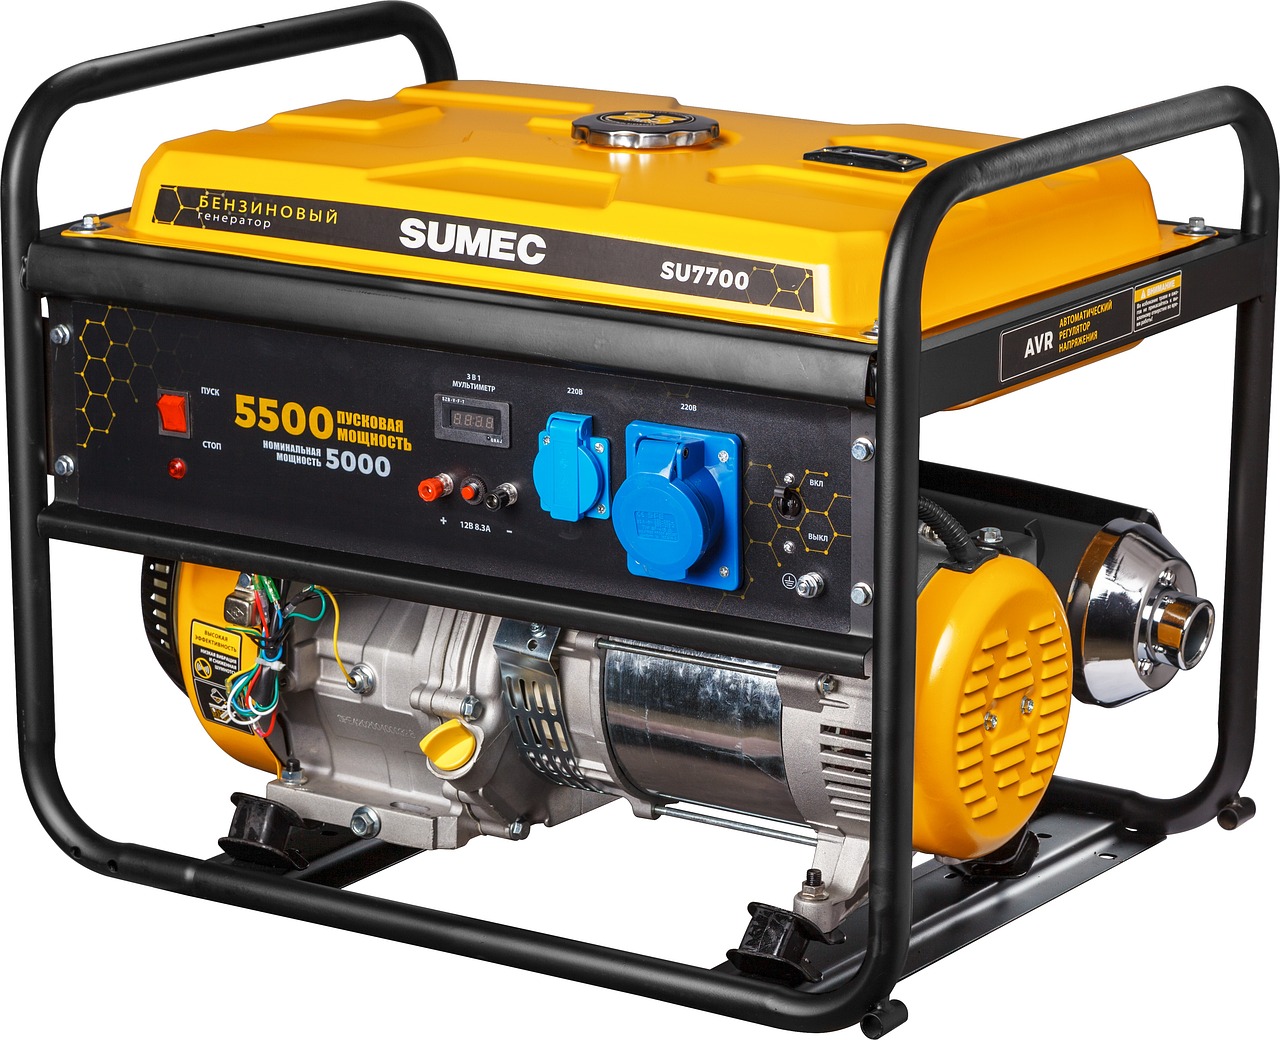
The first step in checking the battery is to locate it. The battery is typically located near the generator’s control panel or in a designated battery compartment. Refer to your generator’s owner’s manual for the specific location of the battery.
Step 2: Prepare to check the battery
Before checking the battery, make sure your generator is off and unplugged from any electrical devices.
Step 3: Check the battery’s voltage
Use a voltmeter to check the battery’s voltage. A fully charged battery should have a voltage of 12.6 to 12.8 volts. If the voltage is less than 12.4 volts, the battery may need to be recharged.
Step 4: Check the battery’s electrolyte levels
If your generator’s battery is a sealed, maintenance-free type, you can skip this step. Otherwise, check the electrolyte levels of the battery by removing the battery caps and checking the fluid level inside the battery. The fluid level should be at or above the lead plates inside the battery. If the fluid level is low, add distilled water to the battery until the level reaches the top of the lead plates.
Step 5: Check the battery’s connections
Check the battery’s connections to ensure they are clean and tight. Dirty or loose connections can cause poor performance or prevent the generator from starting. Clean the connections with a wire brush or sandpaper if necessary and tighten them with a wrench.
Step 6: Check the battery’s age
Check the battery’s age by looking at the date code on the battery. Most batteries have a lifespan of 2 to 3 years. If the battery is older than 3 years, it may be time to replace it.
Step 7: Check the battery regularly
It’s recommended to check the battery in your generator every time you use it, or at least once a month if it’s not used frequently.
Example:
Let’s say you have a portable generator and you want to check the battery before using it for the first time in a month.
- First, you would locate the battery, it would be located near the generator’s control panel or in a designated battery compartment.
- Next, you would make sure that the generator is off and unplugged from any electrical devices.
- Use a voltmeter to check the battery’s voltage. A fully charged battery should have a voltage of 12.6 to 12.8 volts.
- If the generator’s battery is not a sealed, maintenance-free type, check the electrolyte levels of the battery by removing the battery caps and checking the fluid level inside the battery.
- Check the battery’s connections to ensure they are clean and tight.
- Check the battery’s age by looking at the date code on the battery.
- Repeat this process of checking the battery every time you use the generator or at least once a month if it’s not used frequently.
In conclusion, regularly checking the battery in your portable generator is an important task that can help ensure it runs smoothly and efficiently. By checking the voltage, electrolyte levels, connections, and age of the battery, you can ensure that it’s in good condition and replace it if necessary. Remember to always refer to your generator’s owner’s manual for specific instructions and recommendations for checking and maintaining the battery. Happy Generating!


